Clicking one spot over and over is useful, but many real tasks need clicks in several places: open a menu, choose an item, confirm a dialog, then start again. GS Auto Clicker handles this with its recording feature, which saves a list of screen positions and replays them in order. This guide explains how recording works, walks through building your first sequence, and covers the details that make recorded jobs reliable.
What "record and replay" means in GS Auto Clicker
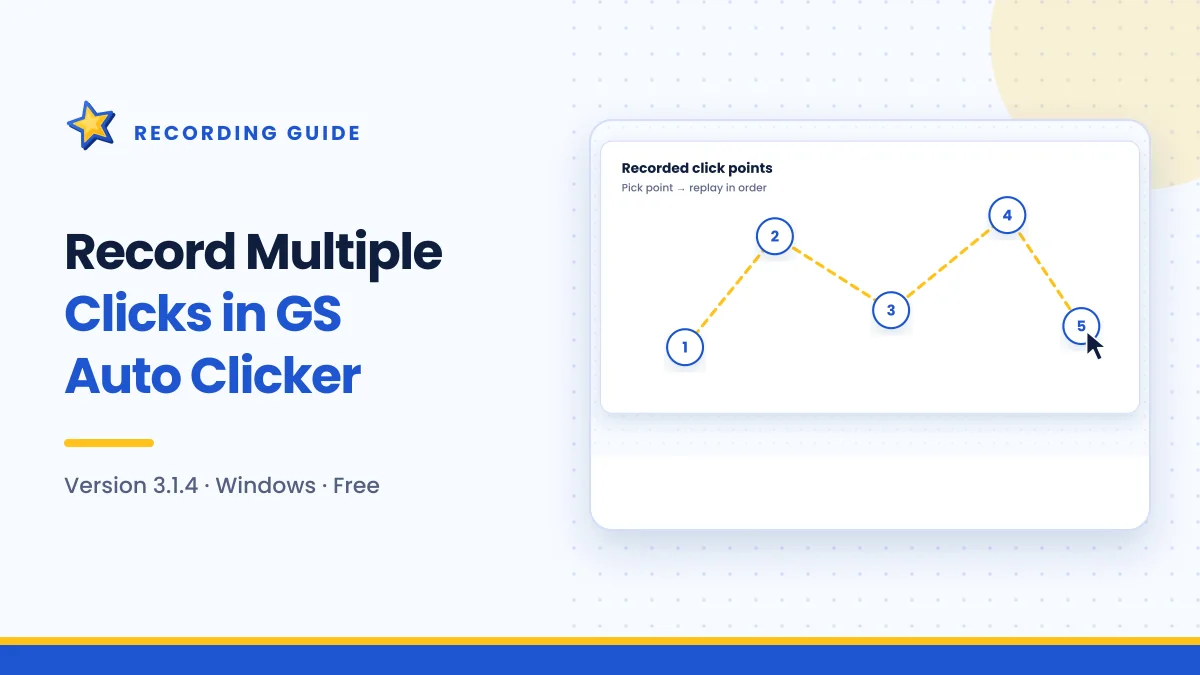
Recording in GS Auto Clicker is position-based. You tell the program which points on the screen to click, one at a time, and it stores their coordinates. When you start the job, it moves to each point in turn and clicks there, then repeats the whole list according to your repeat settings.
It is worth being clear about what recording does not do:
- It does not record keyboard input.
- It does not watch the screen or react to what appears.
- It does not wait for windows to load unless your interval gives them time.
That makes it predictable and easy to understand, but it also means your sequence must match a stable screen layout.
When to use recording
Recording is the right choice when:
- A task needs clicks on two or more different buttons
- The buttons stay in the same place every time
- You repeat the same short routine many times
Stick with single-point clicking when you only need one button, or when the position changes and you prefer to aim with the cursor. Our comparison on the homepage summarises the differences.
Before you record
Prepare the screen first. Recorded points are tied to exact positions, so anything that moves windows around will throw them off.
- Open the program you will automate and place its window where it will stay.
- Maximise it if possible. A maximised window is less likely to shift.
- Note the order of clicks you need, from first to last.
- Set your clicking options (button, click type, interval) in Options → Clicking. These apply to every recorded point.
Step-by-step: recording a click sequence
Step 1: Open the recording options
Click Options and choose Recording. A dialog opens with the multi-click settings.
Step 2: Turn on multiple clicks
Tick Record and replay multiple clicks. Without this option, the program uses ordinary single-point clicking.
Step 3: Pick your first point
Click Pick point. The program waits for you to choose a position. Move to the first place you want clicked and select it. The coordinates are added to the list.
Step 4: Add the remaining points
Press Pick point again for each additional position, in the order they should be clicked. Check the list after each addition to confirm the order.
Step 5: Save the sequence
Click OK to close the dialog and keep your points.
Step 6: Test with a small repeat count
In Options → Clicking, set Repeat to a small number such as 2 or 3. Then press F8 (or your chosen hotkey). Watch the cursor visit each point. If the sequence works, increase the repeat count.
Choosing the right interval for sequences
The interval applies between clicks, so it controls how long each step has to complete before the next one starts. This matters much more for sequences than for single clicks.
| Situation between clicks | Suggested interval |
|---|---|
| Buttons in the same window, instant response | 150–300 ms |
| A menu opens before the next click | 400–700 ms |
| A dialog or new page loads | 1–2 s |
| A slow website or remote desktop | 2–3 s or more |
Use the slowest step in your sequence to decide the interval. If one step needs a second to load, the whole sequence should use at least that.
Example: approving items in a list
Imagine a list where each item needs to be selected, approved, and confirmed in a pop-up:
- Point 1: the first row of the list
- Point 2: the Approve button
- Point 3: the OK button in the confirmation dialog
After confirmation, the next item moves into the first row. Set the interval to around one second so the dialog has time to appear and close, choose a fixed repeat count equal to the number of items, and start the job. Each repetition handles one item.
Tip: test with two or three items first. If anything lands in the wrong place, you will catch it before it affects the rest.
Keeping recorded sequences accurate
Do not move or resize windows
Recorded positions refer to exact screen coordinates. If a window moves, every click lands somewhere else.
Keep display settings the same
Changing resolution, display scaling (such as from 100% to 125%) or switching monitors moves everything on screen. Re-record after any of these changes.
Watch out for scrolling
If the content scrolls during the task, buttons may shift. Design your sequence so the layout stays still, or accept that you need to re-record.
Clear old points before re-recording
When the layout changes, clear the existing list and pick every point again rather than adding new ones on top. Mixed old and new points are a common cause of confusing results.
Troubleshooting recorded jobs
Clicks land in slightly the wrong place
Display scaling or window position changed since you recorded. Clear the list and pick the points again with the window in its final position.
A step gets skipped
The interval is too short for that step. Increase it so the previous action has time to finish.
Only the first point is clicked
Check that Record and replay multiple clicks is ticked, and that the list contains every point you added.
The sequence stops working in a game
Some games treat simulated cursor movement differently from real movement or block it entirely. Try windowed mode or run both programs at the same privilege level. If the game blocks automation on purpose, respect that restriction. More fixes are in the troubleshooting guide.
Safety tips for sequences
- Never include a destructive button you would not want pressed repeatedly.
- Use fixed repeat counts for sequences, because a layout change mid-run can send clicks somewhere unexpected.
- Keep the hotkey handy to stop immediately if something goes wrong.
- Watch the first full cycle every time you set up a new sequence.
Frequently asked questions
How many points can I record?
You can add as many as your task requires. In practice, shorter sequences are easier to keep accurate.
Can I mix left and right clicks in one sequence?
The mouse button setting applies to the whole job. If you need different buttons for different steps, split the work into separate jobs.
Do I still need to point the cursor before starting?
No. With recording enabled, clicks go to the saved positions regardless of where the cursor is when you press the hotkey.
Can I combine recording with "repeat until stopped"?
Yes, but fixed counts are safer for sequences. If you use "until stopped", stay nearby and keep the hotkey within reach.
Summary
Recording turns GS Auto Clicker into a simple sequence tool. Prepare a stable window layout, enable multiple clicks under Options → Recording, use Pick point for each position in order, and test with a small repeat count. Set the interval to suit the slowest step, re-record whenever the layout or display scaling changes, and keep fixed counts for unattended runs. For the basics of single-point clicking, see the beginner walkthrough.

Get GS Auto Clicker 3.1.4
Free, under 1 MB, for Windows. The button opens the developer’s website, goldensoft.org, in a new tab.
Download GS Auto Clicker