Installing GS Auto Clicker is quick: the setup file is under 1 MB and the wizard has only a handful of screens. Still, a few Windows prompts can make the process feel less obvious than it is, especially if you rarely install software. This guide covers every step from the downloaded file to a working program, explains each Windows message you might see, and shows how to update or remove GS Auto Clicker later.
Before you start
Check these three things first. They prevent nearly every installation problem.
- You have the genuine installer. It should come from goldensoft.org and be under 1 MB. If you do not have it yet, follow our download guide.
- You can approve administrator prompts. On a work or school computer, installation may be restricted by your IT department.
- The file has been scanned. Right-click it and choose Scan with Microsoft Defender.
| Item | Requirement |
|---|---|
| Windows version | Windows XP or later; Windows 10 or 11 recommended |
| Architecture | 32-bit or 64-bit (same installer) |
| Disk space | Around 1 MB plus a small program folder |
| Internet | Not required during or after installation |
| Account rights | Administrator approval |
Step-by-step installation
Step 1: Locate the downloaded file
Open File Explorer and go to your Downloads folder. You can also click the downloads icon in your browser and choose Show in folder. Look for the GS Auto Clicker setup file.
Step 2: Open the installer
Double-click the file. Windows may take a moment to check it.
Step 3: Handle the SmartScreen message if it appears
If a blue window says "Windows protected your PC", that is Microsoft Defender SmartScreen. It often appears for small programs that are not downloaded by millions of people every day.
- Confirm the file came from goldensoft.org and your scan was clean.
- Click More info.
- Check the app name refers to GS Auto Clicker.
- Click Run anyway.
If anything about the file looks wrong, close the window and download a fresh copy instead.
Step 4: Approve User Account Control
Next, Windows shows a User Account Control (UAC) prompt asking whether you want to allow the app to make changes to your device. This is normal for any program that installs into the Program Files folder. Click Yes.
Step 5: Follow the setup wizard
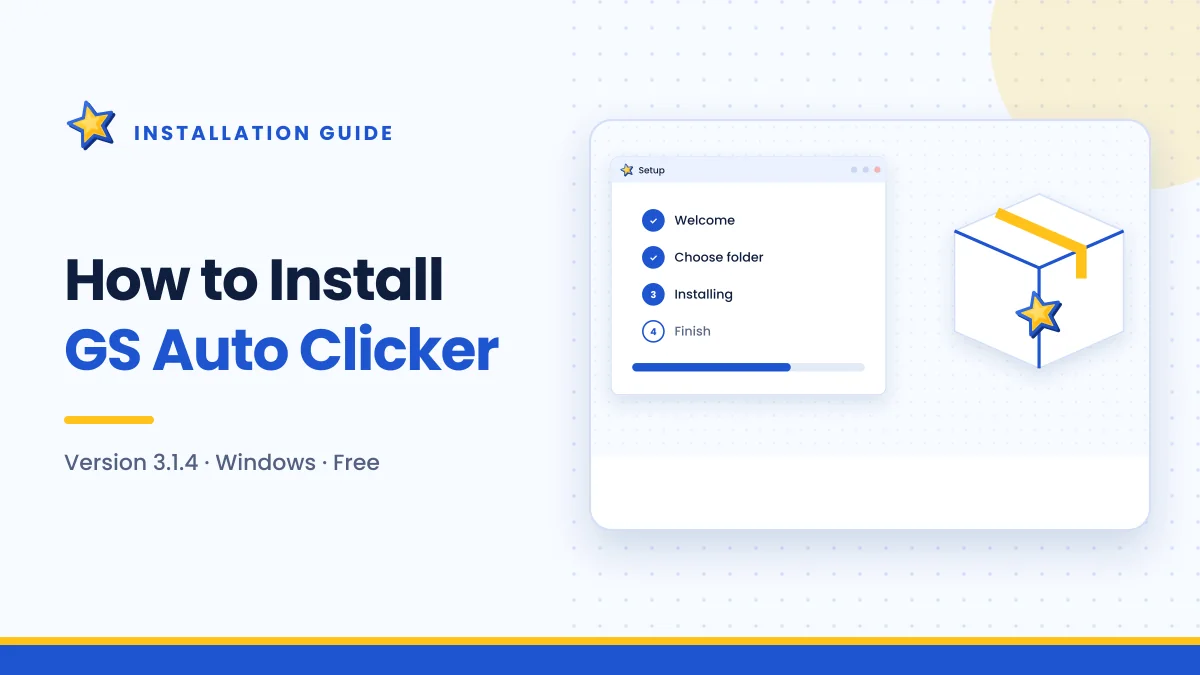
The wizard walks you through a few short screens:
- Welcome screen. Click Next.
- Install location. The default folder is fine for most people. Change it only if you keep programs on another drive.
- Shortcuts. Decide whether you want a desktop shortcut. A Start menu entry is created either way.
- Install. Click Install and wait a few seconds.
- Finish. Leave the "Launch" option ticked if you want to open the program straight away.
Read each screen rather than clicking Next automatically. The genuine installer is short and does not try to add other software, so any offer for toolbars, browser extensions or unrelated apps means you have a repackaged copy. Cancel the setup in that case and download again from the developer.
Step 6: Launch GS Auto Clicker
If you did not launch it from the final screen, open it from:
- The Start menu — type "GS Auto Clicker" and press Enter
- The desktop shortcut, if you created one
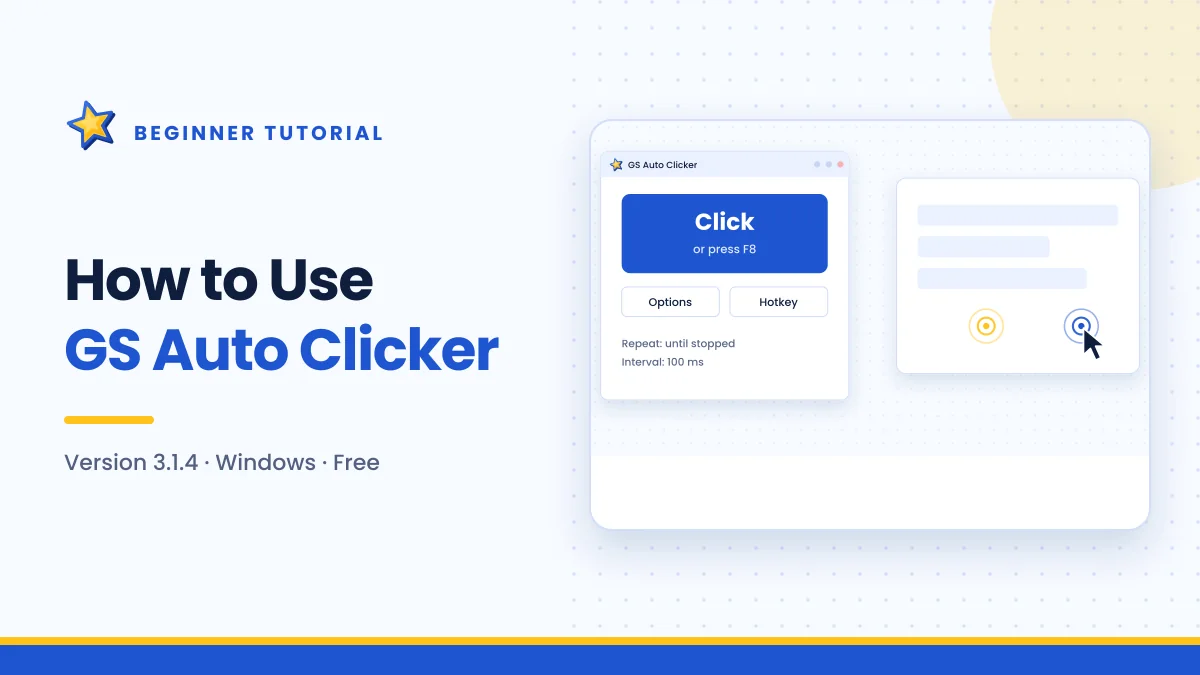
The main window appears with a large Click button and an Options menu. That means the installation worked.
First-time setup
Spend one minute on these settings before your first real job. They make the program safer and more predictable.
Set a fixed repeat count for testing
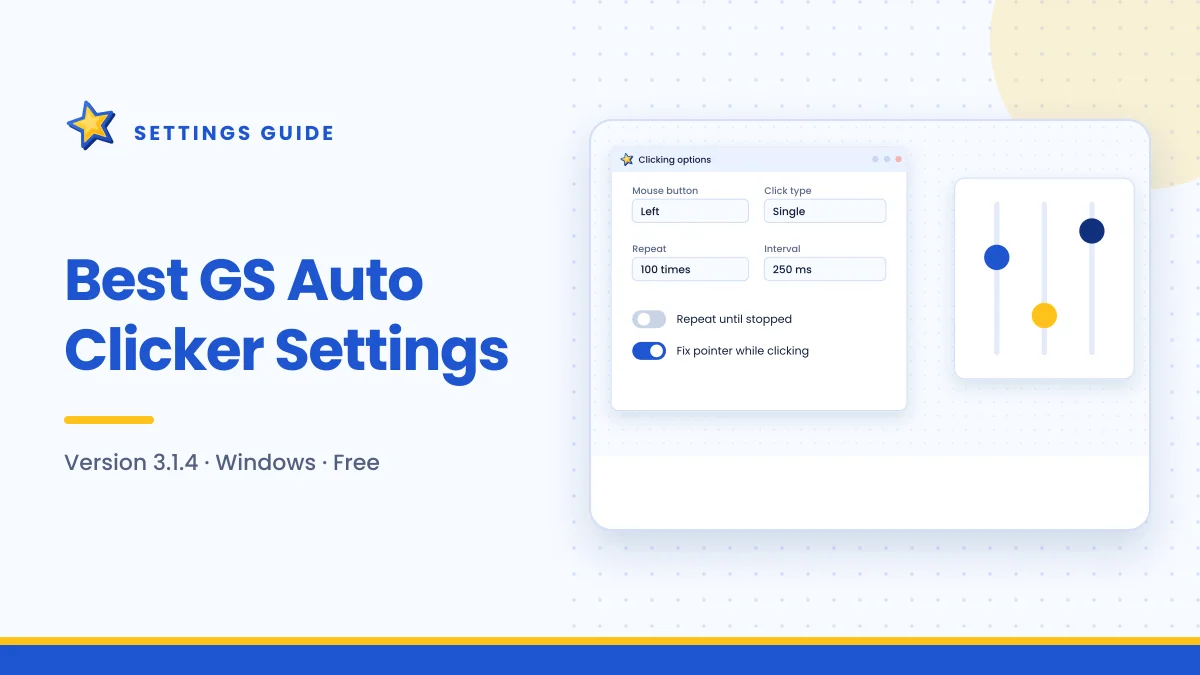
Open Options → Clicking → Repeat and choose a small number, such as 10. This way your first run stops on its own even if you forget the hotkey.
Choose a comfortable interval
In the same dialog, set the interval between clicks. Around 100–250 milliseconds is a sensible starting range. You can go faster once you know everything works.
Check the hotkey
The default start/stop key is F8. If a game or program you use already relies on F8, change it under Options → Settings → Hotkey. Our hotkey guide lists good alternatives.
Run a test
Open Notepad, place the cursor over its text area, and press F8. You should see the clicks happen and stop after your set count. Now you are ready to use the program for real tasks, explained in the beginner walkthrough.
Installer vs portable use
Some download sites offer GS Auto Clicker as a single executable you can run without a setup wizard. If that is the version you have, the differences are small:
| Installer version | Single executable | |
|---|---|---|
| Start menu entry | Yes | No |
| Appears in Installed apps | Yes | No |
| Removal | Through Windows Settings | Delete the file |
| Updates | Install the new version over the old | Replace the file |
Whichever form you use, the same safety checks apply: verify where it came from, check the size and scan it.
Common installation problems
"This app has been blocked for your protection"
This message is stricter than the usual SmartScreen warning. It usually appears when a company policy or an antivirus rule blocks the file. Do not try to bypass it on a work computer; ask your IT team. On a personal PC, delete the file and download a fresh copy directly from goldensoft.org, then scan it again.
Nothing happens when you double-click the installer
Wait ten seconds — antivirus software may be scanning it. If still nothing happens, right-click the file, choose Properties, and look for an Unblock checkbox at the bottom of the General tab. Tick it, click OK, and try again.
"You need administrator permission"
You are signed in with a standard account. Ask the person who manages the computer to approve the prompt, or sign in with an administrator account.
The program installs but will not open
Restart your computer and try again. If that fails, uninstall it, reinstall the latest version, and make sure your security software is not quarantining the program file. Check the protection history in Windows Security if you suspect this.
How to update GS Auto Clicker
There is no built-in auto-updater to rely on. To update:
- Download the latest installer from goldensoft.org.
- Close GS Auto Clicker if it is running.
- Run the new installer and follow the same steps.
Your new version will replace the old one.
How to uninstall GS Auto Clicker
- Open Settings (Windows + I).
- Go to Apps → Installed apps (Windows 11) or Apps → Apps & features (Windows 10).
- Find GS Auto Clicker in the list.
- Click the three-dot menu or the entry itself and choose Uninstall.
- Confirm the prompt.
The program is removed in a few seconds.
Frequently asked questions
Does GS Auto Clicker install anything else?
The genuine installer from the developer is a simple setup for the program itself. If you see offers for additional software, you have a modified installer and should cancel.
Do I need to restart my PC after installation?
No. You can use the program immediately after setup finishes.
Can I install it without administrator rights?
The standard installer needs administrator approval to write to Program Files. Without it, ask the computer's administrator for help.
Will it slow down my computer?
It is extremely small and does nothing until you start a click job, so you are unlikely to notice any impact on performance.
Summary
To install GS Auto Clicker, open the verified setup file, accept the SmartScreen and UAC prompts only after confirming the source, follow the short wizard, and launch the program. Spend a minute setting a fixed repeat count and checking the hotkey, then run a quick test in Notepad. Updating means running a newer installer, and removal takes seconds from Windows Settings.

Get GS Auto Clicker 3.1.4
Free, under 1 MB, for Windows. The button opens the developer’s website, goldensoft.org, in a new tab.
Download GS Auto Clicker